Elevate Your Photography Game with Adobe Lightroom: 5 Essential Tips for Captivating Images
- 14 Mar 2024

Adobe Lightroom has become a cornerstone in the digital workflow of both amateur and professional photographers around the globe. Its comprehensive set of tools for organizing, editing, and sharing photos is unparalleled. With the vast capabilities that Lightroom offers, it can be daunting to know where to start. Whether you are new to the game or looking to refine your skills, there are key strategies you can employ to take your photos from good to breathtaking. Here, we'll explore five must-know photography tips when using Adobe Lightroom to help you achieve the stunning shots you aspire to create.
1. Mastering the Art of RAW Processing
When it comes to image editing, the power lies in the details. Shooting in RAW format provides you with the highest quality files, which are essential for detailed post-processing work. Adobe Lightroom excels at RAW image processing, allowing you to extract the maximum amount of detail from your photos. By manipulating the RAW file, you have greater control over exposure, highlights, shadows, and color balance, which can significantly enhance the final look of your shots.
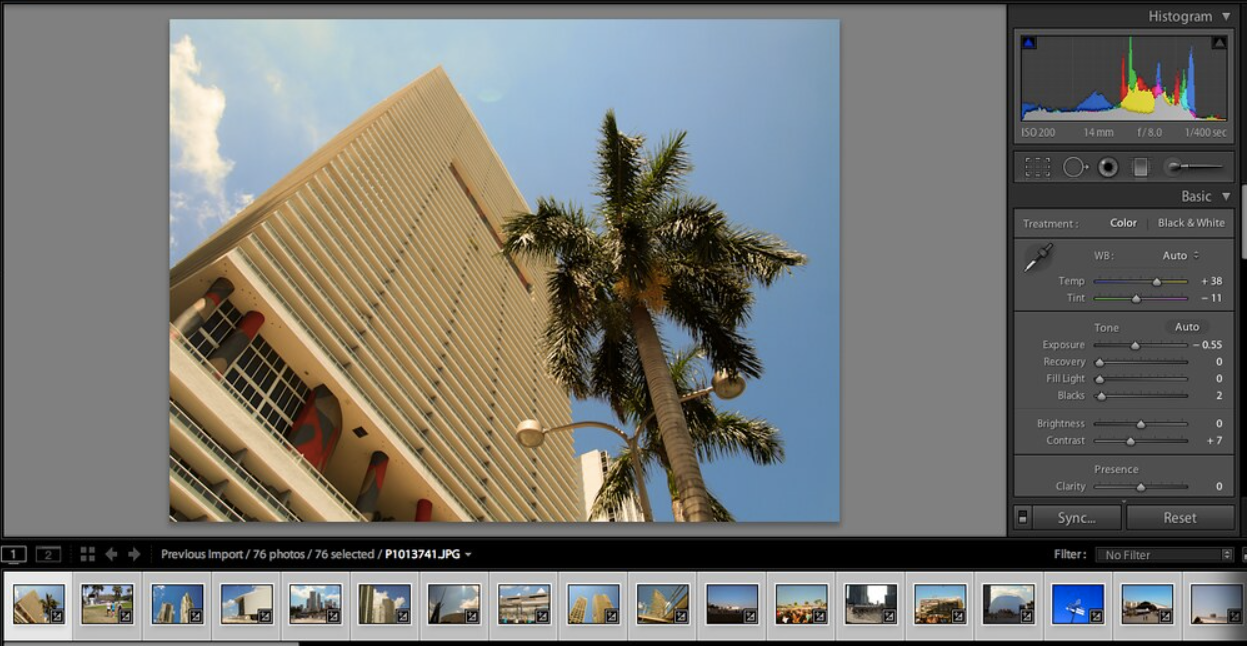
In your first step of RAW processing, focus on the basic adjustments. These include tweaking the exposure, contrast, highlights, shadows, whites, and blacks. This foundational work sets the stage for a more polished image. Pay attention to the histogram to ensure you're not clipping highlights or crushing shadows too much, maintaining a balanced exposure. Once you've adjusted these parameters, you can move on to refining clarity, vibrance, and saturation, which will help your images pop.
2. Crafting the Perfect Color Grade

Color grading is the secret sauce that can evoke emotion and convey the mood of your photography. Adobe Lightroom provides a range of tools to adjust colors, including the HSL/Color panel, which stands for Hue, Saturation, and Luminance. By selectively tweaking these settings, you can create a color palette that complements your subject and enhances the overall aesthetic of your photos.
Begin by adjusting the hue of individual colors to shift their tone. This subtle change can make a sky appear more vibrant or give skin tones a natural warmth. Next, adjust the saturation to control the intensity of the colors, being careful not to oversaturate, which can lead to an unnatural look. Finally, use the luminance slider to brighten or darken specific colors, adding depth and dimension to your images. Remember, color grading is an art form, so take your time to experiment and find the right balance that brings your vision to life.
3. Leveraging Local Adjustments for Precision Editing
Global adjustments affect the entire image, but sometimes you need to target specific areas for a more refined edit. Lightroom's local adjustment tools, such as the Adjustment Brush, Radial Filter, and Graduated Filter, are incredibly powerful for making precise changes without impacting the rest of the photo.
With the Adjustment Brush, you can paint over areas that require attention, whether it's to brighten a subject's face, enhance the texture of a landscape, or draw focus to a particular element in the shot. The Radial and Graduated Filters are perfect for creating vignettes or adjusting the exposure and color of certain parts of the image. For instance, you can use a Graduated Filter to simulate a ND filter effect, balancing the exposure between a bright sky and darker foreground. Mastery of these tools allows you to guide the viewer's eye and highlight the most important parts of your composition.
4. Sharpening and Noise Reduction: Striking the Right Balance
Clarity is vital for an impactful photo, but digital noise and excessive sharpening can detract from the quality. Lightroom offers sophisticated sharpening tools and noise reduction settings that, when used correctly, can preserve image detail while minimizing unwanted grain and artifacts.
Begin with the Detail panel, where you can adjust the sharpening sliders to enhance edge definition. Be cautious not to overdo it, as too much sharpening can introduce halos and make your image appear harsh. Instead, focus on sharpening the most critical parts of the photo while leaving out areas where detail is less important. Next, tackle noise reduction, which is essential for photos taken at high ISO settings or in low light conditions. Adjust the luminance and color noise sliders to smooth out the grain, but keep an eye on preserving detail and avoiding a plastic-like appearance.
5. The Power of Presets for Efficient Workflow
One of Lightroom’s greatest strengths is the ability to create and apply presets. Presets are saved settings that can be applied to other photos with just one click, ensuring consistency and saving you time. They can be a starting point for editing or a final touch before exporting your images.
To make the most of presets, start by developing your own based on your preferred editing style. This could include adjustments you frequently make, such as color grading, sharpening, or lens corrections. Once you've crafted a set of custom presets, you can apply them to batches of images to maintain a cohesive look across your portfolio. Additionally, exploring presets created by other photographers can provide inspiration and new techniques to incorporate into your workflow.
By implementing these five Adobe Lightroom tips, your journey to capturing and creating stunning photography will be more intuitive and rewarding. As you become more comfortable with the software, remember that the most important aspect is to have fun and experiment. Your unique style will emerge as you refine your skills and push the boundaries of what you can achieve with Lightroom.